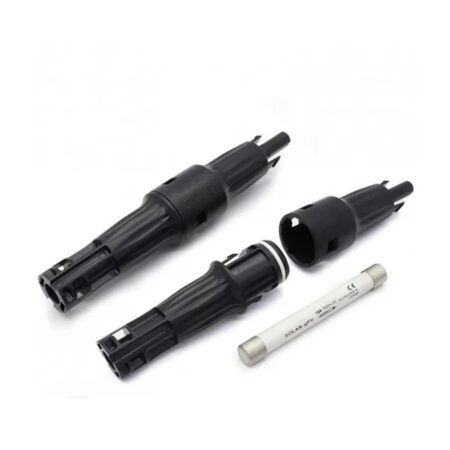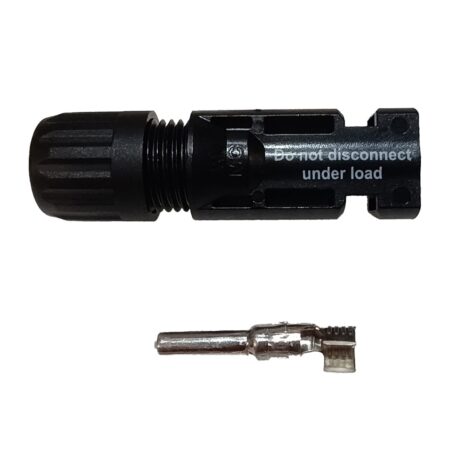
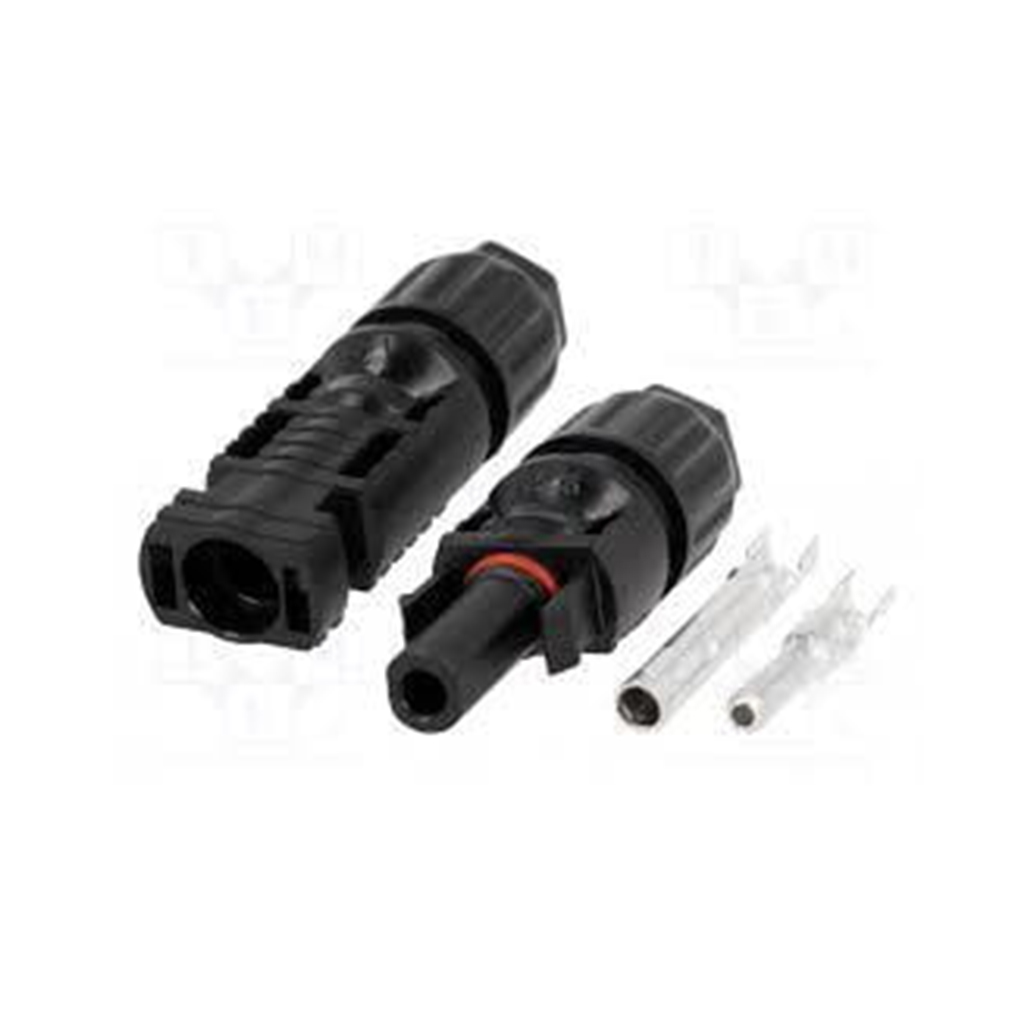
Description
QC4.10 connector set for 6 mm² cable
Codes:
-
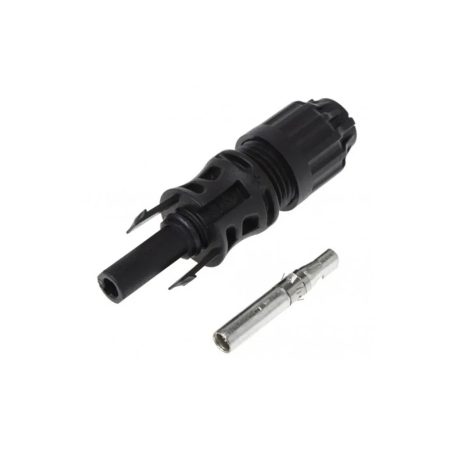
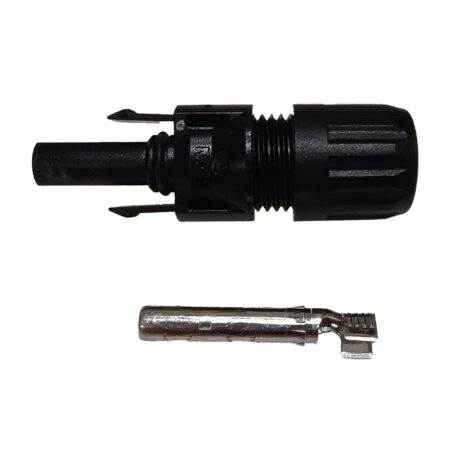
QC4.10-cd F 6 mm (female)
-
QC4.10-cd M 6 mm (male)
QC4.10 connectors are high-quality, waterproof DC connectors designed to connect solar panels, inverters, and other components in photovoltaic systems. The model is optimized for cables with a cross-section of 6 mm² and supports safe connection at high currents and voltages (up to 1500V DC, depending on the model).
Set contents:
-
1 x Male connector (QC4.10-cd M 6 mm)
-
1 x Female connector (QC4.10-cd F 6 mm)
-
2 x Contact Copper Foams
-
2 x Rubber Sealant
-
2 x Fixing nut
Installation instructions:
Required tools:
-
Solar connector crimping pliers (specialized for MC4/QC4.10)
-
Stripper for stripping insulation
-
Gloves (recommended)
✅ Step 1: Preparing the cable
-
Cut the cable (6 mm²) to the desired length.
-
Remove about 7–8 mm of the insulation at the end of the cable.
✅ Step 2: Crimping the pins
-
Take the corresponding copper pin (male or female) and insert the bare part of the cable into it.
-
Use the crimping pliers to securely press the foam around the copper core.
-
Check the strength – it should not slip out when pulling.
✅ Step 3: Assembling the Connector
-
Place the rubber seal and fixing nut on the cable before inserting the pin into the housing.
-
Insert the crimped pin into the connector until you hear a “click” – this means it’s locked.
-
Screw the fixing nut by hand (or with an MC4/QC4 tightening tool) until tightly closed.
✅ Step 4: Connecting
-
Connect the male and female connectors by pressing them until they lock.
-
For dismantling, use a special tool for QC4.10/MC4 connectors.
Advantages of QC4.10:
-
IP68 waterproof protection
-
UV and heat-resistant housing
-
Reliability at high currents and temperatures
-
Safe locking with anti-release system
-
Compatibility with industry solar standards
- We inform you that despite our efforts, we cannot guarantee that the published information and photos do not contain inaccuracies or errors that cannot be a legal basis for claims.